Free saw patterns
  • Home
  • Daily Blog
  • Craft Projects
    • Coloring pages
    • Cross Stitch
    • Cupcake Toppers
    • Decoupage projects
    • Easy craft projects
    • Halloween crafts
    • Make Jewelry
    • Old fashioned tag
    • Woodburning >
      • Wood Burning Patterns
    • Wood Carving
    • Wood Magnets
    • Wood Signs
    • Wood Necklaces
    • more >
      • How To >
        • How to Watermark Your Artwork
        • Great Ideas for creating art
        • Free Drawing Lessons
        • How to hang frame-less thin art
      • Rocking Rabbit e-patterns
  • Craft Patterns
    • Angels >
      • Angel patterns
      • Angels II >
        • Angels III
    • Animals >
      • Bears
      • Birds
      • Bunnies
      • Butterflies
      • Bugs
      • Bunnies
      • Cats
      • Farm Animals
      • Horses
      • Moose & Deer
    • Botanical
    • Country
    • Music
    • Mermaids & Mythical
    • Nautical
    • People >
      • People II
    • w-o-r-d-i-n-g
    • Weather Vanes
    • Holidays >
      • Christmas
      • Christmas Stitchery
      • Easter Crafts
      • Fathers Day
      • Halloween
      • Memorial Day
      • Mother's Day
      • Patriotic
      • St. Pat's
      • Thanksgiving
      • Valentine
  • Clip Art
    • Angels
    • Animals >
      • Animals II
      • Bunnies
      • Cats
      • Dogs
      • Farm Animals
      • Jungle
    • Country
    • Holidays >
      • Christmas
      • Easter
      • Halloween >
        • Halloween 4
      • Thanksgiving
      • Patriotic
      • St. Pat's
      • Valentines
    • Mythical
    • Nautical
    • People
    • Textures
  • Crafters Resources
  • How to sell on eBay
  • Make Money With Your Crafts
  • Product
  • Chipboard clipboard craft project
  • Graduations
  • Country crafts

Country Folk Art Painting Pattern

7/24/2015

0 Comments

 
A friend you can lean on folk art
Country folk art painting
Country Folk Art craft outline
Folk art craft pattern
0 Comments

Make fashion wearable wood art buttons from blank discs 

6/26/2015

0 Comments

 
Make and Wear a cat pin
Cut out circle image & glue onto wood blank disc. For a protective coat, place a piece of transparent Contact Paper over the image, then cut. 
Picture
Materials you will need to make novelty wood brooches:
 1 Pkg of 100 1.5" Round Disc Unfinished Wood Cutouts -These are ready to Be Painted and Decorated.
Click on image-  Wood Blanks available from Amazon

  • Use for creating jewelry, pins, game pieces,
  • ornaments or other craft projects.
Picture
Picture
Blank wood discs available from Amazon:
Wood burning outline for blank wood discs.
Picture
INSTRUCTIONS:
Collage sheet of free circle art is  below.
Print it out onto cover stock weight paper (recommended) and glue with (Elmer's white glue)  onto the wood blank. Press out to the edges, smoothing as you press down. When the glue has completely dried, take a paper nail file and finish off the edges by lightly sanding smooth where the paper and the wood meet. Next glue a pin back to the back. Optional- you may want to paint a clear satin a water based varnish for an added protection and you are done. 
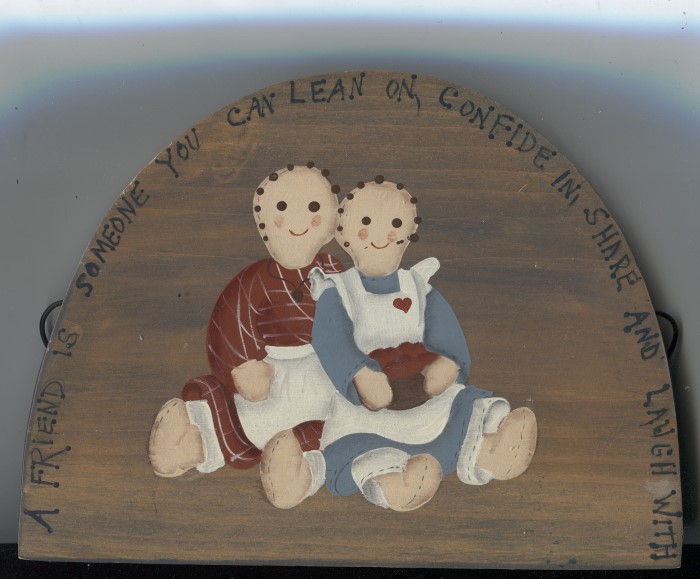
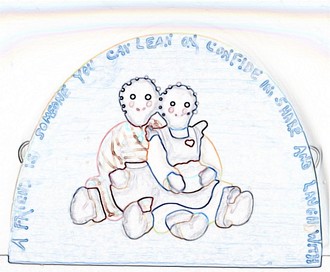
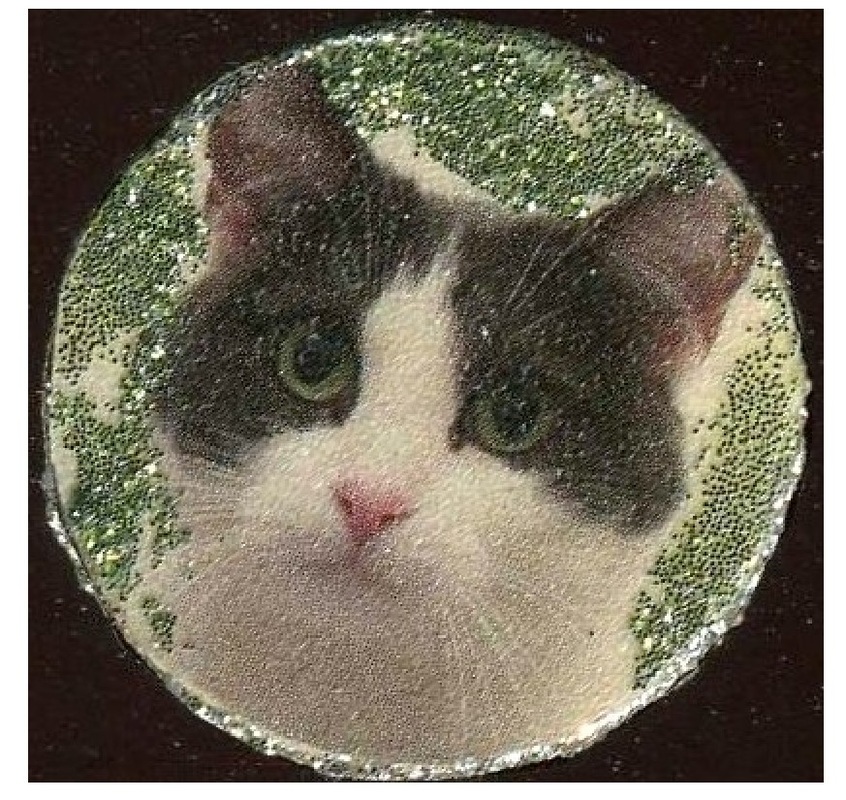
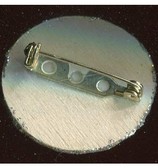
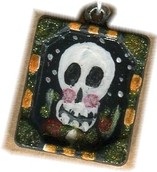
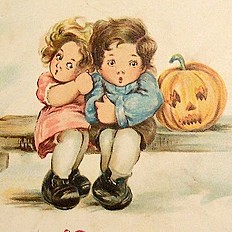
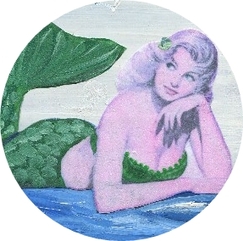
Printable Click On Collage Sheet  wearable art pin brooches
Pin brooch collage sheet Pig,Cat, Butterfly,Monkey, Flamingo
Bird collage sheet available from Amazon:

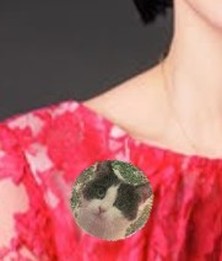
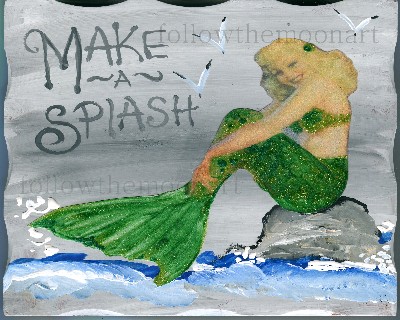
Supplies  for making wearable art pins:  Get it from Amazon

Piddix - Collage Sheet - 1 Inch Circle Tile Images - Natures Royalty
Leegoal Silver Tone Double Lock Brooch Pin Back Coat Crafts (Silver,50pcs)
Con-Tact Brand Clear Covering Self-Adhesive Privacy Film and Liner, 18-Inches by 9-Feet, Clear Matte
0 Comments

Paint a watercolor Halloween Cat

9/22/2013

0 Comments

 
Picture
Picture
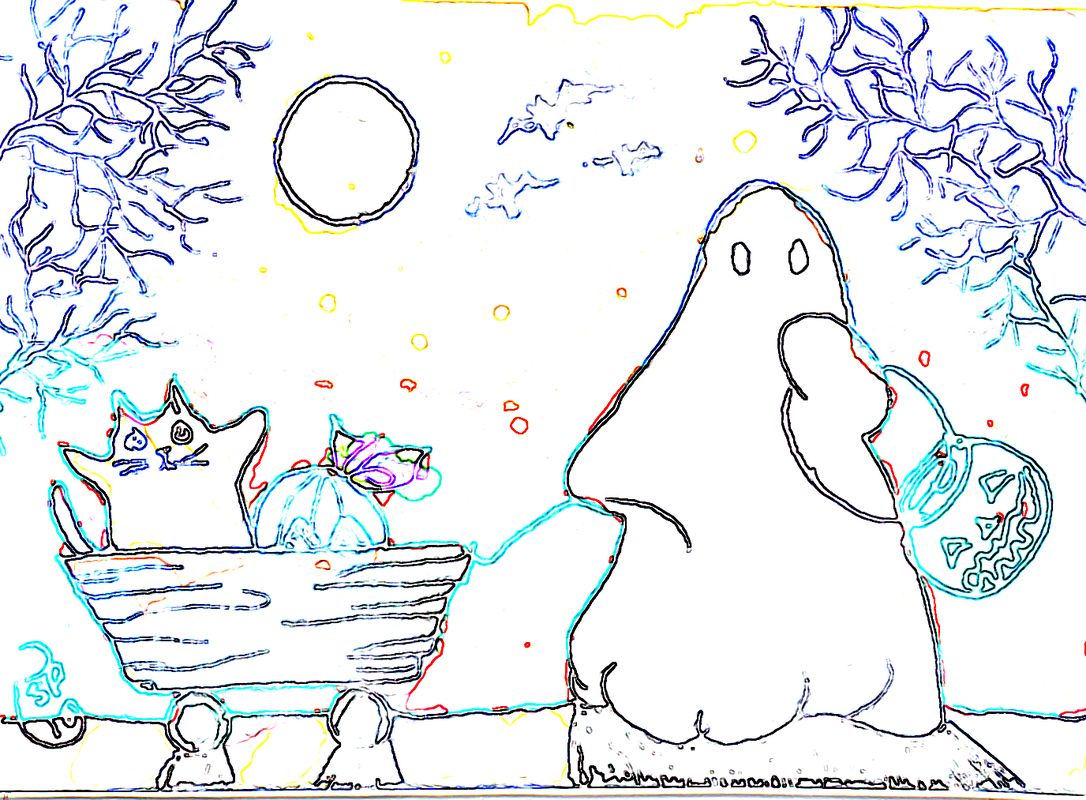
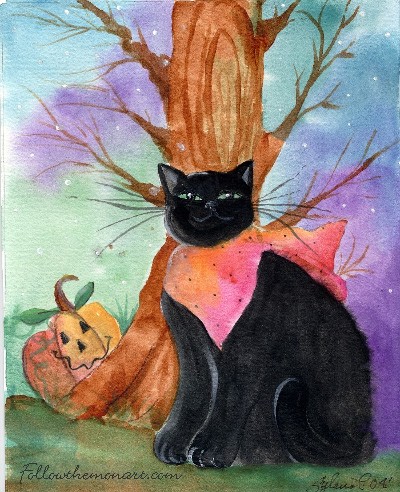
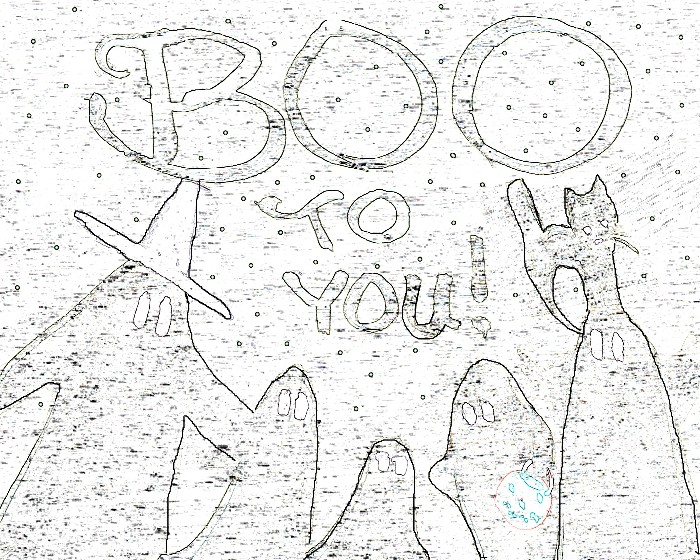
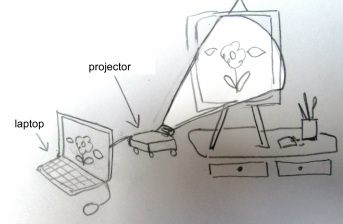
Easy to do ~~ Paint with watercolors 

Materials needed:  Light tracing table,  90 lb. watercolor paper,  cake type or tube style watercolors, an assortment of artist brushes, mechanical or #2 pencil and soft eraser, masking tape. Transfer the Halloween cat image with pencil using the light table on the watercolor paper. 

If you do not have access to a light table there are several other ways to transfer the outline image to the watercolor paper: 
1) Hold up the image to a window (daytime) with water color paper over the image and trace with pencil. 
2) Make your own light table using a window, support the pane,  and place a tall table lamp beneath the window for a light source.

3) If you have a glass top table like a patio table, you can use that using a  light source below. 

Quality Artist materials available from Amazon: 
Artograph LightTracer Light Box
Reeves 9-Inch by 12-Inch Water Color Paper Pad, 35-Sheet
Loew-Cornell Assorted Dry Pan Watercolor Paint Cakes, 24-Pack

0 Comments

Make a painted Metal Charm for Halloween

9/20/2013

0 Comments

 
Create a Halloween skeleton on a metal charm.
Painting on metal is easy to do with acrylic paints.

Get blank jewelry findings for pennies each. All you need are assorted acrylic paints and a quality artist brush that is small enough for this project.
1) Paint the background black
2) Paint the skull white  - then when dry paint the face details
3) Paint the surrounding frame of the picture with glitter acrylic paints. In this project we used green and orange glitter paint


Make your jewelry into a necklace pendant, magnet or brooch pin. Glue a pin back on the back before or after you paint.

Assortment of metal jewelry findings available from Amazon:

Acrylic metallic paints in an assortment of colors available from Amazon:

Picture
Skelly Painted Metal charm


Picture
outline to paint  your own charm pendant


Blank pendants:
0 Comments

Craft Halloween project Moon Face outline & clip art with a Witch & Ghosts  

9/20/2013

0 Comments

 
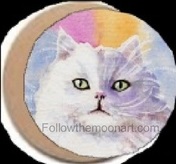
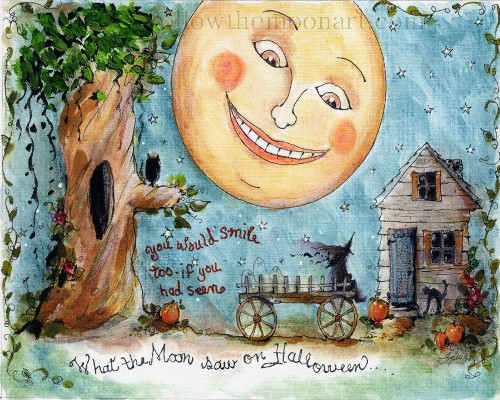
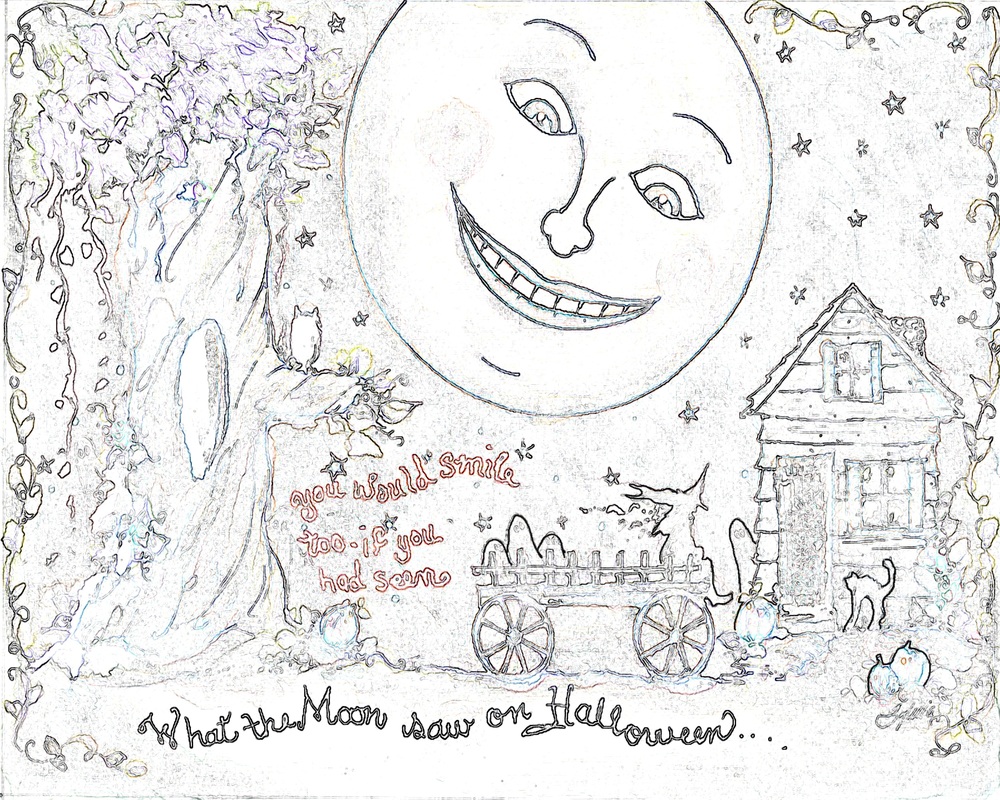
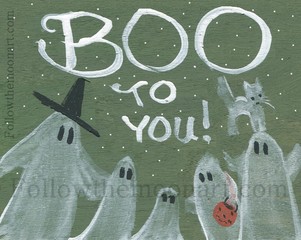
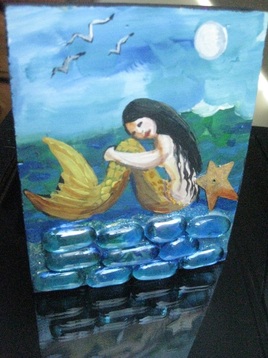
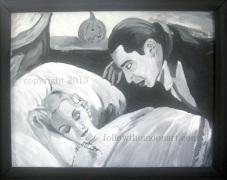
Save Halloween Moon Face to your computer and print. Use it and color, or as a painting outline for acrylics or watercolors.  Transfer the image to muslin and stitch a fun scary scene. Artwork by Followthemoonart.com   
Picture
Picture
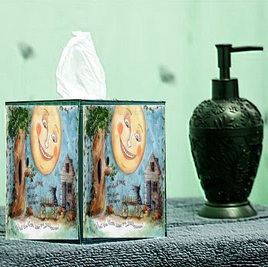
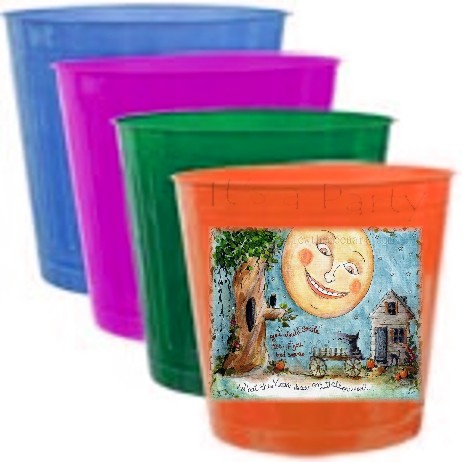
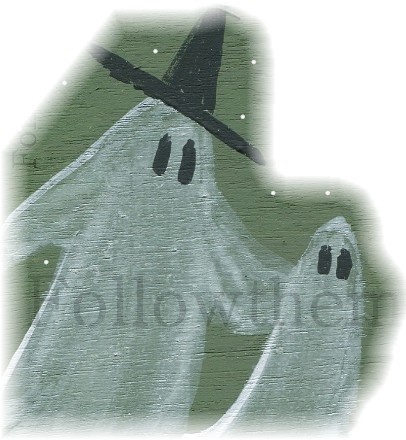
Use dollar store items and dress it up with Halloween images such as this featured 
Moon Face Night
Make Halloween Invitations using Microsoft Word program 
Picture
Easily decorate a tissue  Halloween Kleenex Box
Picture
Create a Food container bucket
for popcorn or handing out candy
Picture
Moon Face artwork copyright Followthemoonart 2013. Quality prints of this art available on fineartamerica
0 Comments

Make wood  Ornaments, jewelry or pendants

9/9/2013

0 Comments

 
Picture
0 Comments

How to Make your own Ghost Halloween art 

9/6/2013

0 Comments

 
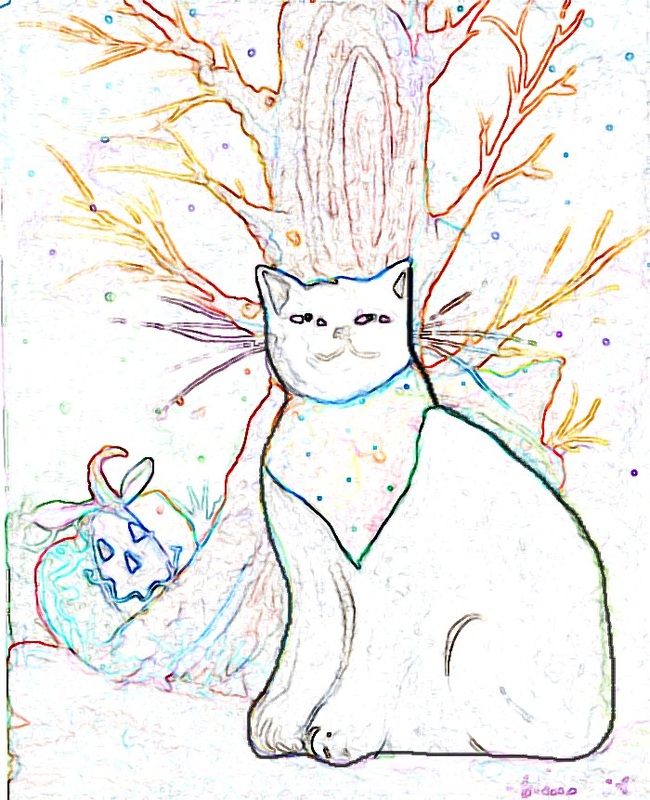
by S. Pimental
Search the archives of old Halloween images and you will find that traditionally, it is the orange and black colors  that seem to stand out the most. Move away from the ordinary and paint with earthy colors that can still say "Happy Halloween!"  ~~   keeping  and get  the exclusive craft pattern outline to make your own spooky art.
Picture
Created with acrylics paints, it allows one to display this painting outside or indoors.Perfect to greet your holiday guests in the Fall. The original is  small sized at 7" x 5" .
It was created by me  and painted on thin birch wood plywood. I attached a  saw tooth hanger on the back. I first painted the base black, then painted  sage green over the black. If you don't have a sage color, then mix a little white to a Christmas Green, or a basic green  to get this soft green color as shown. Get the craft outline for this painting......
Picture
Click on to make larger and print for outline. 
Transfer this outline onto wood, cardboard, paper or fabric.
Boo to you Halloween painting or drawing craft outline to make your own scary artwork. The pumpkin that the ghost is holding is printed in light blue.
Picture
To paint the ghosts, use a watered down white acrylic paint. Paint long wide strokes with a 1/4" or larger flat artist brush.You want to have the background color seem to show the ghost. So you don't want to paint solid white that has no depth. If you don't like the results after you paint one ghost, quickly wipe it away with a damp Wet One or paper towel and start again.


Artist products you may like available from Amazon:
Face Painting (Klutz)
Liquitex BASICS Acrylic Paint Tube 6-Piece Set
Plaid One Stroke Brush Set, Pack of 10
0 Comments

Artist Resource Guide is Ready

9/5/2013

0 Comments

 
If you have ever been stuck on where to get ideas for your next painting or art project then look no further. Check out the latest resource guide that offers a dozen resources to discover your next amazing new idea...
Artist Free Resource Guide
0 Comments

How to Make Mermaid wood collages

9/2/2013

0 Comments

 
Picture
Besides making a mermaid
collage craft try: 
bird, sailboat, 
lighthouse, flowers or fish.
Picture
Picture
Materials needed:
1) old salvaged wood
2) glass pebbles - found at the Dollar store
3) Contact brand frosted or clear paper peel shelf paper
4) Elmer's Glue All
5) Acrylic paints
6) Sparkle nail polish

Small signs and collages can be made from scrap wood found at grocery stores where they sell scraps of bundled wood for kindling. You can also check the dump where they may have recycle wood pallets. Your local lumber company may even give these way for the taking. Check your town to see if it has its own swap shop.

Let's get started : Decide on the desired size of the painting and cut to size or use the wood piece as is.
In this example of Mermaid collage I found a used plague that was scalloped all around. I made for a perfect backdrop for my mermaid painting.

Paint the entire front of the wood with black acrylic paint.
Next Paint a loose background of a landscape as shown in this picture on the left.

For the mermaid, I found a vintage image on the internet.  To put the mermaid (or other object on the wood over the landscape) you must first print the image out on paper.
After you print it out,  place a layer of clear contact paper over the image. Smooth out any bubbles. Then proceed to cut both the Contact paper and the image using fine  cuticle scissors or a similar tool.
When you get to the legs and feet of the image you will not follow the leg or feet outline to cut, but rather cut the shape of a mermaid fin as shown in the picture to the left. If it helps to draw in pencil first before you cut, then do that step first.

Next, on the back of the cut out paper image paint a thin layer of white glue and place in position on the wood. Smooth out any excess glue slowly and carefully with a soft cloth or paper towel.
Once the mermaid is glued in place, you can now  cover the fin  with the paint of your desired color to blend with the rest of picture.
Add a final touch to your collage  craft  for accent:
Just add sparkle with nail polish or glue on some star fish and /or glass stones to complete. Add a sawtooth hanger on the back to display.


0 Comments

It's easy to create BIG Art

8/1/2013

0 Comments

 
By S. Pimental
 
Explore new territory with your artwork by painting big!  I created my own technique to do this by and was able to adjust the size of the painting however big I wanted.  Of course, I always had my eye on the 'projector' you could buy in the art stores, but that seemed too restrictive for me. The cost was too much if it meant it would just be used  for art projects. So I settled on buying a projector I could use for other purposes. The LCD projector is small. You can use it use it for watching  movies on the big screen or even big gaming for the kids. It hooks up to VCR's, DVD players and computers.
To begin here is  
Step one:  set up your painting or drawing area and get  comfortable with art tools you need within your reach. 
Step two :  display the image file in a photo editing program.
Step three:  hook up the LCD projector to the computer. Shut the lights and see how It projects what's on the computer screen, onto a wall or canvas. By moving the projector back, fourth, focus in or focus out, you create whatever size image you want. )
Picture
Laptop and projector setup.

Using a laptop is ideal for this enlarging technique. It lets you be mobile.  Below is a link to find this or other quality projectors on  Amazon. By purchasing on Amazon, You will be able to read reviews and make the right choice for you. 
Step four: Time to start your art project, what are you waiting for?!
Projector available on Amazon:

Digital Galaxy DG-737 Dream Land HDMI LCD Projector

PicturePainting work station
Set up a painting or drawing  area that is comfortable. Have art materials within easy reach. 

Important tips to follow: 
You will need to have a   photo editing program in place for this art technique to work. PhotoScape is a great program to download and its free. Load the  image file you want to enlarge  into your editing program. Once the lights are dim this is where it gets tricky. You will will not have too much lighting to paint by. Move the projector where you need it and use the focus dial at the lens. This is similar  to using an overhead projector in the classroom. Just experiment at this point with the equipment until you are at a point where everything is in place and comfortable for you to start painting.
Final thought:  Once everything is set in its place,  nothing can be moved or altered, or you will mess up your painting or drawing and it will be out of line. Try to complete the art in one session. You may be intimated by this, but just think - you will complete the art and you will feel such an accomplishment, I promise!

Below is a black and white painting of Dracula I created using this projector technique. In  part two of this post I will reveal my technique that uncovers where I got this image. I show you how you can find thousands of similar images for you to paint as well. I hope you have found this post helpful, leave a comment or suggestion is you have yourself used this art technique.   
Picture
Dracula acrylic black and white framed painting by S. Pimental copyright 2013.

0 Comments
<<Previous
    Crafter's Market 2016: How to Sell Your Crafts and Make a Living
    Woodpeckers® 100 Wooden Circles 1.5 Inch


More patterns at Freecraftpattern.com
 ​You have permission to use these unique craft designs for your own craft use.  You cannot resell these designs as your own and as they appear published here, by themselves or in a collection in digital, on paper or in any other from of distribution. Please use the contact form here on this page  if you have any questions. Followthemoonart Pimental Copyright2007-2023.  
Follow @folowthemoonart
  • Home
  • Daily Blog
  • Craft Projects
    • Coloring pages
    • Cross Stitch
    • Cupcake Toppers
    • Decoupage projects
    • Easy craft projects
    • Halloween crafts
    • Make Jewelry
    • Old fashioned tag
    • Woodburning >
      • Wood Burning Patterns
    • Wood Carving
    • Wood Magnets
    • Wood Signs
    • Wood Necklaces
    • more >
      • How To >
        • How to Watermark Your Artwork
        • Great Ideas for creating art
        • Free Drawing Lessons
        • How to hang frame-less thin art
      • Rocking Rabbit e-patterns
  • Craft Patterns
    • Angels >
      • Angel patterns
      • Angels II >
        • Angels III
    • Animals >
      • Bears
      • Birds
      • Bunnies
      • Butterflies
      • Bugs
      • Bunnies
      • Cats
      • Farm Animals
      • Horses
      • Moose & Deer
    • Botanical
    • Country
    • Music
    • Mermaids & Mythical
    • Nautical
    • People >
      • People II
    • w-o-r-d-i-n-g
    • Weather Vanes
    • Holidays >
      • Christmas
      • Christmas Stitchery
      • Easter Crafts
      • Fathers Day
      • Halloween
      • Memorial Day
      • Mother's Day
      • Patriotic
      • St. Pat's
      • Thanksgiving
      • Valentine
  • Clip Art
    • Angels
    • Animals >
      • Animals II
      • Bunnies
      • Cats
      • Dogs
      • Farm Animals
      • Jungle
    • Country
    • Holidays >
      • Christmas
      • Easter
      • Halloween >
        • Halloween 4
      • Thanksgiving
      • Patriotic
      • St. Pat's
      • Valentines
    • Mythical
    • Nautical
    • People
    • Textures
  • Crafters Resources
  • How to sell on eBay
  • Make Money With Your Crafts
  • Product
  • Chipboard clipboard craft project
  • Graduations
  • Country crafts