Free saw patterns
Home
Daily Blog
Craft Projects
Coloring pages
Cross Stitch
Cupcake Toppers
Decoupage projects
Easy craft projects
Halloween crafts
Make Jewelry
Old fashioned tag
Woodburning
>
Wood Burning Patterns
Wood Carving
Wood Magnets
Wood Signs
Wood Necklaces
more
>
How To
>
How to Watermark Your Artwork
Great Ideas for creating art
Free Drawing Lessons
How to hang frame-less thin art
Rocking Rabbit e-patterns
Craft Patterns
Angels
>
Angel patterns
Angels II
>
Angels III
Animals
>
Bears
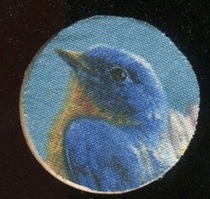
Birds
Bunnies
Butterflies
Bugs
Bunnies
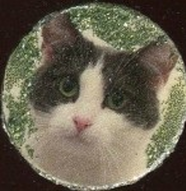
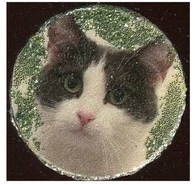
Cats
Farm Animals
Horses
Moose & Deer
Botanical
Country
Music
Mermaids & Mythical
Nautical
People
>
People II
w-o-r-d-i-n-g
Weather Vanes
Holidays
>
Christmas
Christmas Stitchery
Easter Crafts
Fathers Day
Halloween
Memorial Day
Mother's Day
Patriotic
St. Pat's
Thanksgiving
Valentine
Clip Art
Angels
Animals
>
Animals II
Bunnies
Cats
Dogs
Farm Animals
Jungle
Country
Holidays
>
Christmas
Easter
Halloween
>
Halloween 4
Thanksgiving
Patriotic
St. Pat's
Valentines
Mythical
Nautical
People
Textures
Crafters Resources
How to sell on eBay
Make Money With Your Crafts
Product
Chipboard clipboard craft project
Graduations
Country crafts
Home
Daily Blog
Craft Projects
Coloring pages
Cross Stitch
Cupcake Toppers
Decoupage projects
Easy craft projects
Halloween crafts
Make Jewelry
Old fashioned tag
Woodburning
>
Wood Burning Patterns
Wood Carving
Wood Magnets
Wood Signs
Wood Necklaces
more
>
How To
>
How to Watermark Your Artwork
Great Ideas for creating art
Free Drawing Lessons
How to hang frame-less thin art
Rocking Rabbit e-patterns
Craft Patterns
Angels
>
Angel patterns
Angels II
>
Angels III
Animals
>
Bears
Birds
Bunnies
Butterflies
Bugs
Bunnies
Cats
Farm Animals
Horses
Moose & Deer
Botanical
Country
Music
Mermaids & Mythical
Nautical
People
>
People II
w-o-r-d-i-n-g
Weather Vanes
Holidays
>
Christmas
Christmas Stitchery
Easter Crafts
Fathers Day
Halloween
Memorial Day
Mother's Day
Patriotic
St. Pat's
Thanksgiving
Valentine
Clip Art
Angels
Animals
>
Animals II
Bunnies
Cats
Dogs
Farm Animals
Jungle
Country
Holidays
>
Christmas
Easter
Halloween
>
Halloween 4
Thanksgiving
Patriotic
St. Pat's
Valentines
Mythical
Nautical
People
Textures
Crafters Resources
How to sell on eBay
Make Money With Your Crafts
Product
Chipboard clipboard craft project
Graduations
Country crafts