Little Country Wood Signs
|
MATERIALS:
Acrylic paints 2 x 3 birch wood piece Sandpaper and paper nail files Modge Podge Artist flat brush to brush out the Modge Podge Cut to size image print * See end of this article for image to use for this project (When cutting out the image print try using a paper cutter for a perfect cut.)
Sources for materials: Find wood in a lumber or building supply store like Home Depot or Lowe's. If you plan on making a lot of magnets purchase a 4x8 sheet of birch wood and have the lumber store cut the sheet down into smaller equal sections for you. Economically each individual 2.5 x 3.5 Piece of wood will actually cost you just under $0.10 each to make. Ideally have the wood sheet cut down to 2 foot x 4 foot sections. By cutting it down it will fit into your vehicle and it will be easier to work with once you get it home. Once you get the wood home, further cut the wood down to a manageable size you can sandwich the wood into layers for ease of cutting. To hold the sheets together - use masking tape around the edges. Once the wood is taped, pencil out your 2.5 x 3.5 rectangle dimensions. Proceed to cut your pieces out with a band saw or a jigsaw. INSTRUCTIONS:
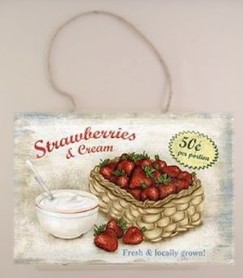
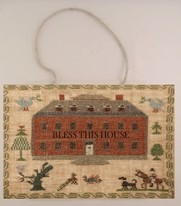
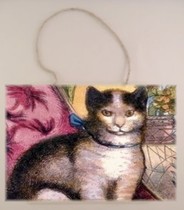
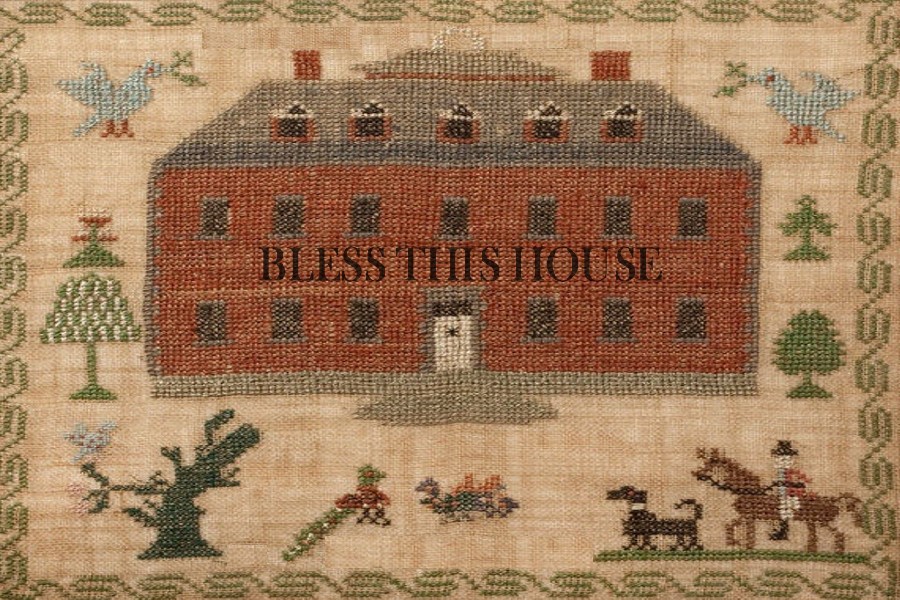
Free Sign Images to download for Sign craft projectFor best results when printing these images; use a laser printer, or have printed at a local copy shop with commercial type copiers. The ink will not smear when it comes in contact with the Modge Podge glue.
|
|
